Audio Accessories and Tools, DIY Audio Projects
Building Your Own DIY Contact Microphone: A Step-by-Step Guide
Selecting the Right Piezo Transducer
Before you start building your DIY contact microphone, you’ll need to select the right piezo transducer for your project. As mentioned in our previous blog post, there are various types of piezo transducers available, such as ceramic disks, piezo films, and piezo bars and rods. For most DIY projects, ceramic disks are the most popular choice due to their affordability and availability.
Recommended product: DZS Elec 15PCS 35mm Piezo Disc Transducer
Gathering the Necessary Materials and Tools
To build your DIY contact microphone, you’ll need the following materials and tools:
- Piezo transducer (ceramic disk or other type)
- 1/4″ or 1/8″ audio jack (depending on your preference)
- Shielded audio cable
- Soldering iron and solder
- Heat shrink tubing or electrical tape
- Wire strippers
- Optional: epoxy or hot glue for securing the transducer to the audio jack
Recommended product: Neutrik NP2X-B 1/4-Inch Mono Plug
Assembling Your DIY Contact Microphone
Follow these steps to assemble your contact microphone:
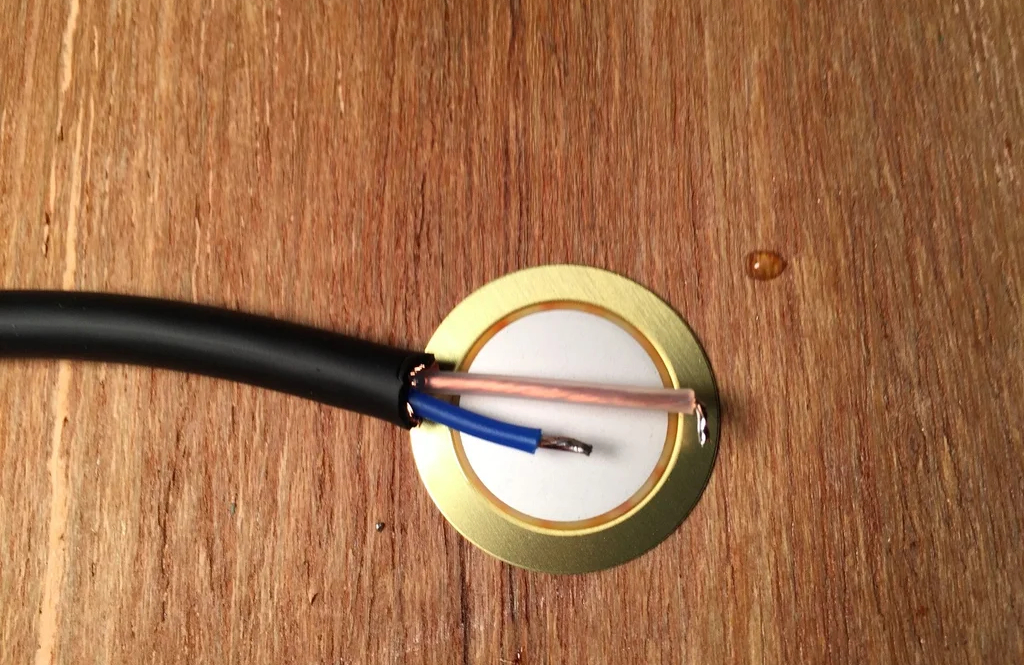
a. Strip the ends of the shielded audio cable, exposing the inner wires.
b. Solder one end of the audio cable to the piezo transducer, connecting the signal wire to the metal surface of the transducer and the ground wire to the outer edge.
c. Apply heat shrink tubing or electrical tape to insulate the soldered connections.
d. Solder the other end of the audio cable to the audio jack, connecting the signal wire to the tip terminal and the ground wire to the sleeve terminal.
e. If desired, secure the piezo transducer to the audio jack with epoxy or hot glue, ensuring a stable and durable connection.
Adding a Preamp and Connecting to Your Audio Interface
Piezo transducers produce a relatively weak electrical signal, so it’s often necessary to use a preamp to boost the signal before connecting it to your audio interface or mixer. There are numerous preamps available on the market, from affordable single-channel models to high-end multi-channel units.
Recommended product: ART Tube MP Professional Mic Preamp
Tips for Troubleshooting and Optimizing Your DIY Contact Mic
If you encounter any issues or want to improve the performance of your DIY contact microphone, consider the following tips:
- Check the soldered connections for any loose or shorted wires.
- Experiment with different attachment methods, such as using rubber bands or putty to secure the contact mic to various objects, to optimize sound capture.
- Consider adding a high-pass filter to your preamp or audio interface to reduce low-frequency noise and rumble.
- If you experience excessive feedback or noise, try using a balanced connection with an impedance matching transformer.
In the final blog post of this series, we’ll explore creative applications of contact microphones in sound design and music production, showcasing the unique sonic possibilities that await you with your new DIY contact mic!

